Getting Started
Setting up your Twitch Youblicity account.
Account Setup
Sign in
The next step should be done when the Stream is offline or when the overlay is moved off stream in OBS. You won't have to do this every stream, you will stay logged in!

Because we use advanced authentication to protect your overlay and chat from unauthorized access, your OBS Browser Source needs to be logged in to your Youblicity account.
Authentication via Setup Parameter (Required)
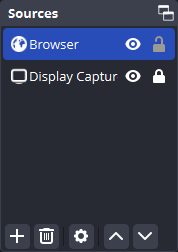
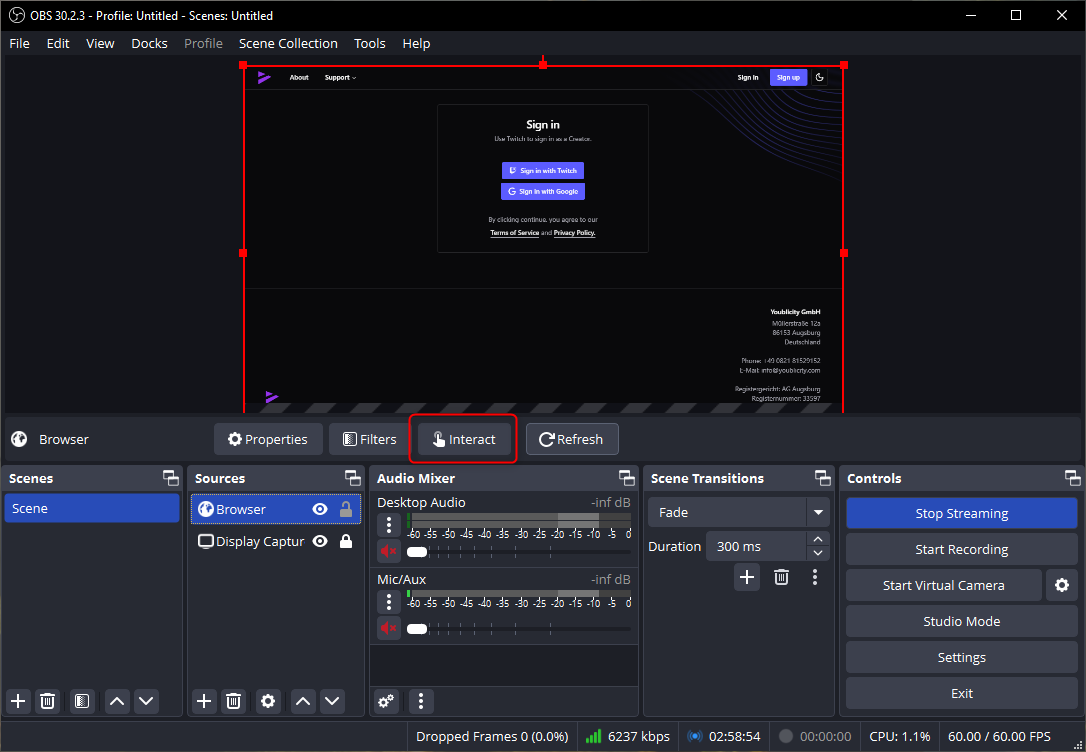
- Right-click your Browser Source and go to Properties.
- Append
?setup=trueto the end of the URL (e.g..../stream/1234?setup=true). - Press "Interact" to login, you should be redirected to your BrowserSource again after logging in.
CRITICAL: Remove ?setup=true from the URL when you're done. If you leave
it on, and your session is ever revoked for any reason while you're live, your
overlay will redirect to the login screen and show it to your viewers!
-
Done! After signing in with Twitch, everything is connected and set up.
-
You can now start your stream and participate in Campaigns!
Twitch Permissions
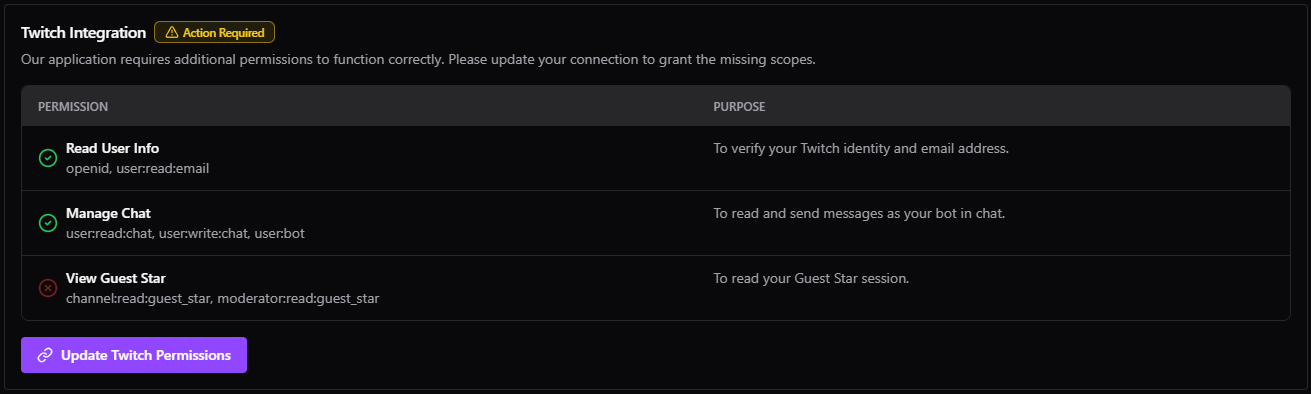
To use all of its features, Youblicity needs certain permissions from your Twitch account, specifically for managing chat and tracking your Guest Star sessions.
You can check the status of your permissions at any time in your . If you see an "Action Required" notice, click the update button to grant access.
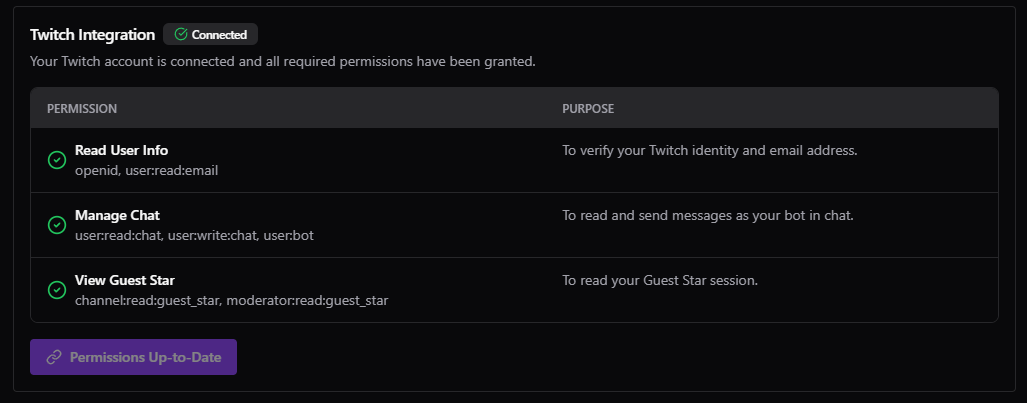
Guest Star Tracking
To enable automatic tracking of your sessions, please ensure the "View Guest Star" permission is granted.
Troubleshooting
OBS Login & Authentication
If your overlay is blank or you've been logged out, you need to re-authenticate your OBS Browser Source.
Please refer to the authentication methods in the section above to securely log back in without showing a login screen on your stream.